Apple recently made the decision to remove PHP from the OS image. That’s a good call as the version included with the OS quickly gets out of date. So, it’s up to us as software developers to manage the install and update of the development tool
A Quick Aside
Time to express an opinion: I am not a PHP fan. It’s a kludge of a language built on top of a kludge of web application architecture. But enough back-end stuff remains built on that architecture that one has to understand it and sometimes support it.
Back to our regular programming
For macOS, the simplest way to manage installing and configurating PHP is to use a package manager like Home-brew. It’s a one line install command:
/bin/bash -c “$(curl -fsSL https://raw.githubusercontent.com/Homebrew/install/HEAD/install.sh)”
Worth noting that is a lot of gooey, cruchy open-source goodness in the Homebrew repository.
At this point, you can install PHP:
brew install php
This will get you PHP8. If you need earlier versions, then you will want to use one of the specific version casks in Brew.
And now things get macOS ugly
We want to configure our Apache install to use PHP. H
Time to hack! Configuring Apache
Things begin by adjusting our Apache configuration to load PHP. Edit the Apache httpd.conf configuration file:
Sudo vi /etc/apache2/httpd.conf
Add the following:
LoadModule php_module /opt/homebrew/opt/php/lib/httpd/modules/libphp.so
<FilesMatch \.php$>
    SetHandler application/x-httpd-php
</FilesMatch>
Confirm that the DirectoryIndex entry includes “index.php”:
DirectoryIndex index.php index.html
Now we code-sign
Here is where Apple tightening up security in macOS 12 bits us in the posterior: Homebrew’s stuff isn’t code-signed. Means that Apache will puke upon us when it tries to load the PHP module.
We have to manually sign the package. This requires some finagling with keychains using the Keychain Access utility and the Xcode command-line tools.
Here things get “interesting”. We need to adjust macOS to allow us to self-sign certificates. In other words, we get to be our own “Certificate Authority”.
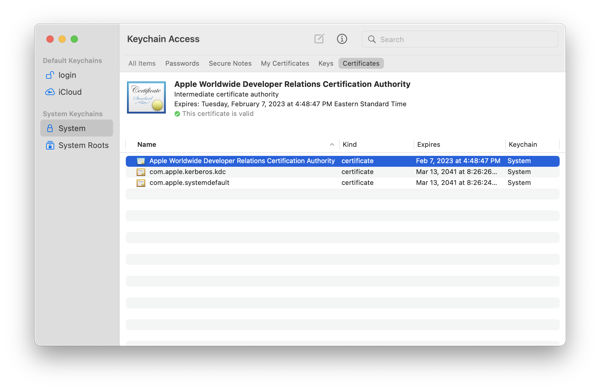
Launch the macOS Keychain Access utility:

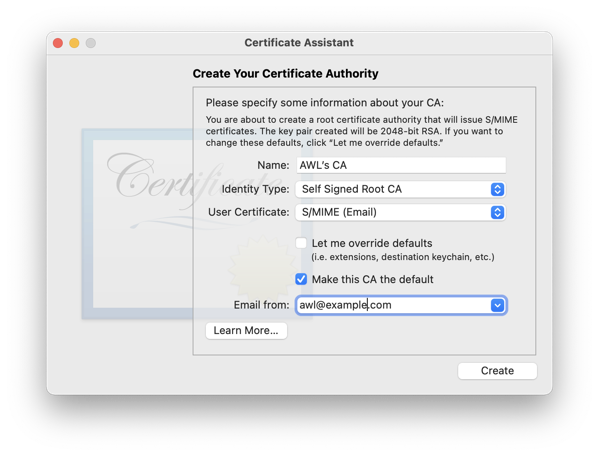
Now goto Keychain Assistant>Certificate Assistant>Create A Certificate Authority
. You should see something that looks like this: 
Do the following:
- Adjust the name as needed.
- Select “Code Signing” from the “User Certificate” dropdown.
- Turn on the “Let me override defaults” checkbox
- Enter your e-mail at the appropriate location
- Select “Continue“
- Accept defaults for Certificate Information
- Enter appropriate certificate information and select “Continue”
- Accept defaults for the Key Pair information for both certificate and users
- Do the same for extensions
- Turn on the “Extended Key Usage Extension for This CA” option
- Select the “Code Signing” checkbox that appears
- Accept defaults until you get to the create screen
- Turn on “On this machine, trust certificates signed by this CA“
- Select “Create”
- Close the “Certificate Assistant“
Sign the PHP module using the Xcode command-line code signing tool (replacing ”AWL“ as required):
codesign –sign ”AWL“ –force –keychain ~/Library/Keychains/login.keychain-db /opt/homebrew/opt/php/lib/httpd/modules/libphp.so
Now again edit the Apache httpd.conf file and adjust the entry for PHP as below (again, replacing ”AWL“ with what you used in the certificate):
LoadModule php_module /opt/homebrew/opt/php/lib/httpd/modules/libphp.so ”AWL"
Now restart Apache and you should be ready to rock and roll:
sudo apachectl -k restart
Selah.